A
Gratitude Pillars & Votives (Frankincense, Bergamot & Orange) I love sun beam candles! Clean burning and super fast delivery!
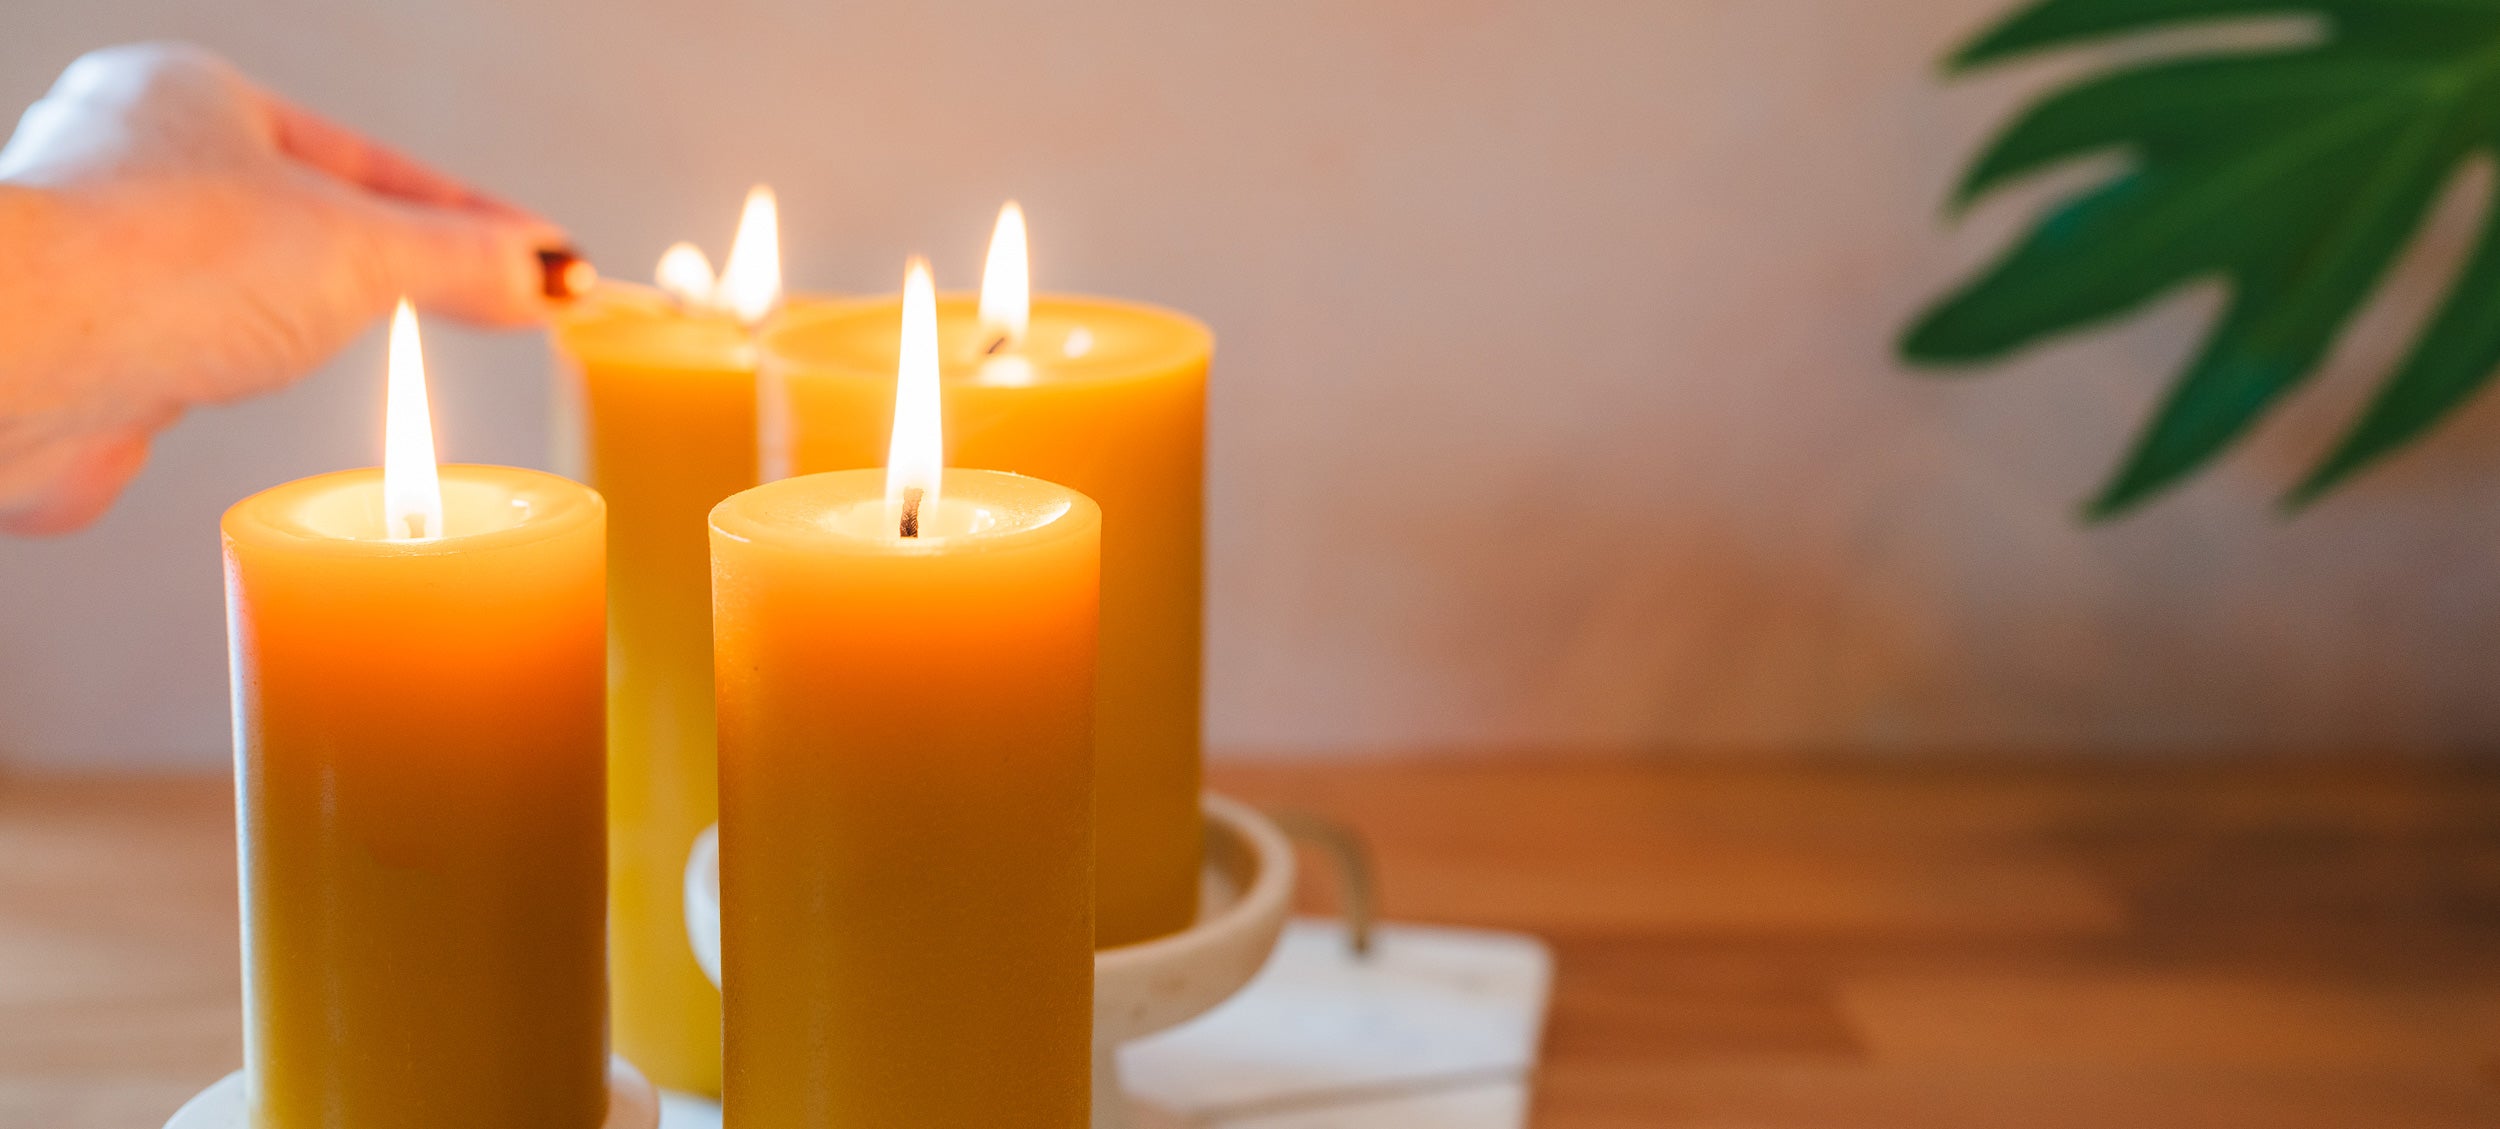
Every Burn Begins With Intention
From the first trim to the final flicker, small steps make all the difference.
Our candles are made with plant-based waxes and designed for a clean, even burn. But they do need proper care, especially our solid beeswax pillars.
Proper candle care isn't just about looks. It helps your candle burn cleaner, safer, and longer.
Candle Care Basics
A few quick fixes for when your candle isn't burning quite the way it should.
This is often caused by tunnelling, a wick that is too short, or one that's become charred or mushroomed. Make sure the wick is trimmed to ¼″ and stands upright before lighting. Let the candle burn long enough to create a full melt pool so the wax can fuel the flame evenly.
We recommend using a wick dipper - dip the wick into the wax and straighten it. This avoids smoke and keeps the wick in good shape for the next burn.
Let the candle burn on a flat, heat-safe surface until the wax pool exposes the wick, or gently remove some wax to uncover about ¼″ of wick.
We use only essential oils and botanical-based fragrances, so our candles won't fill a room instantly like synthetic fragrances. The scent is more subtle and may take time to release. Let it burn long enough for the wax pool to warm up, especially with container candles, where the fragrance is often just below the surface.
That's called bloom, a natural patina that forms on beeswax over time. It's a sign of the purity of the beeswax, and some people love the look. It won't affect the way your candle burns, but if you prefer a polished finish, you can gently wipe it away with a soft, damp cloth or warm the surface with a hair dryer.