
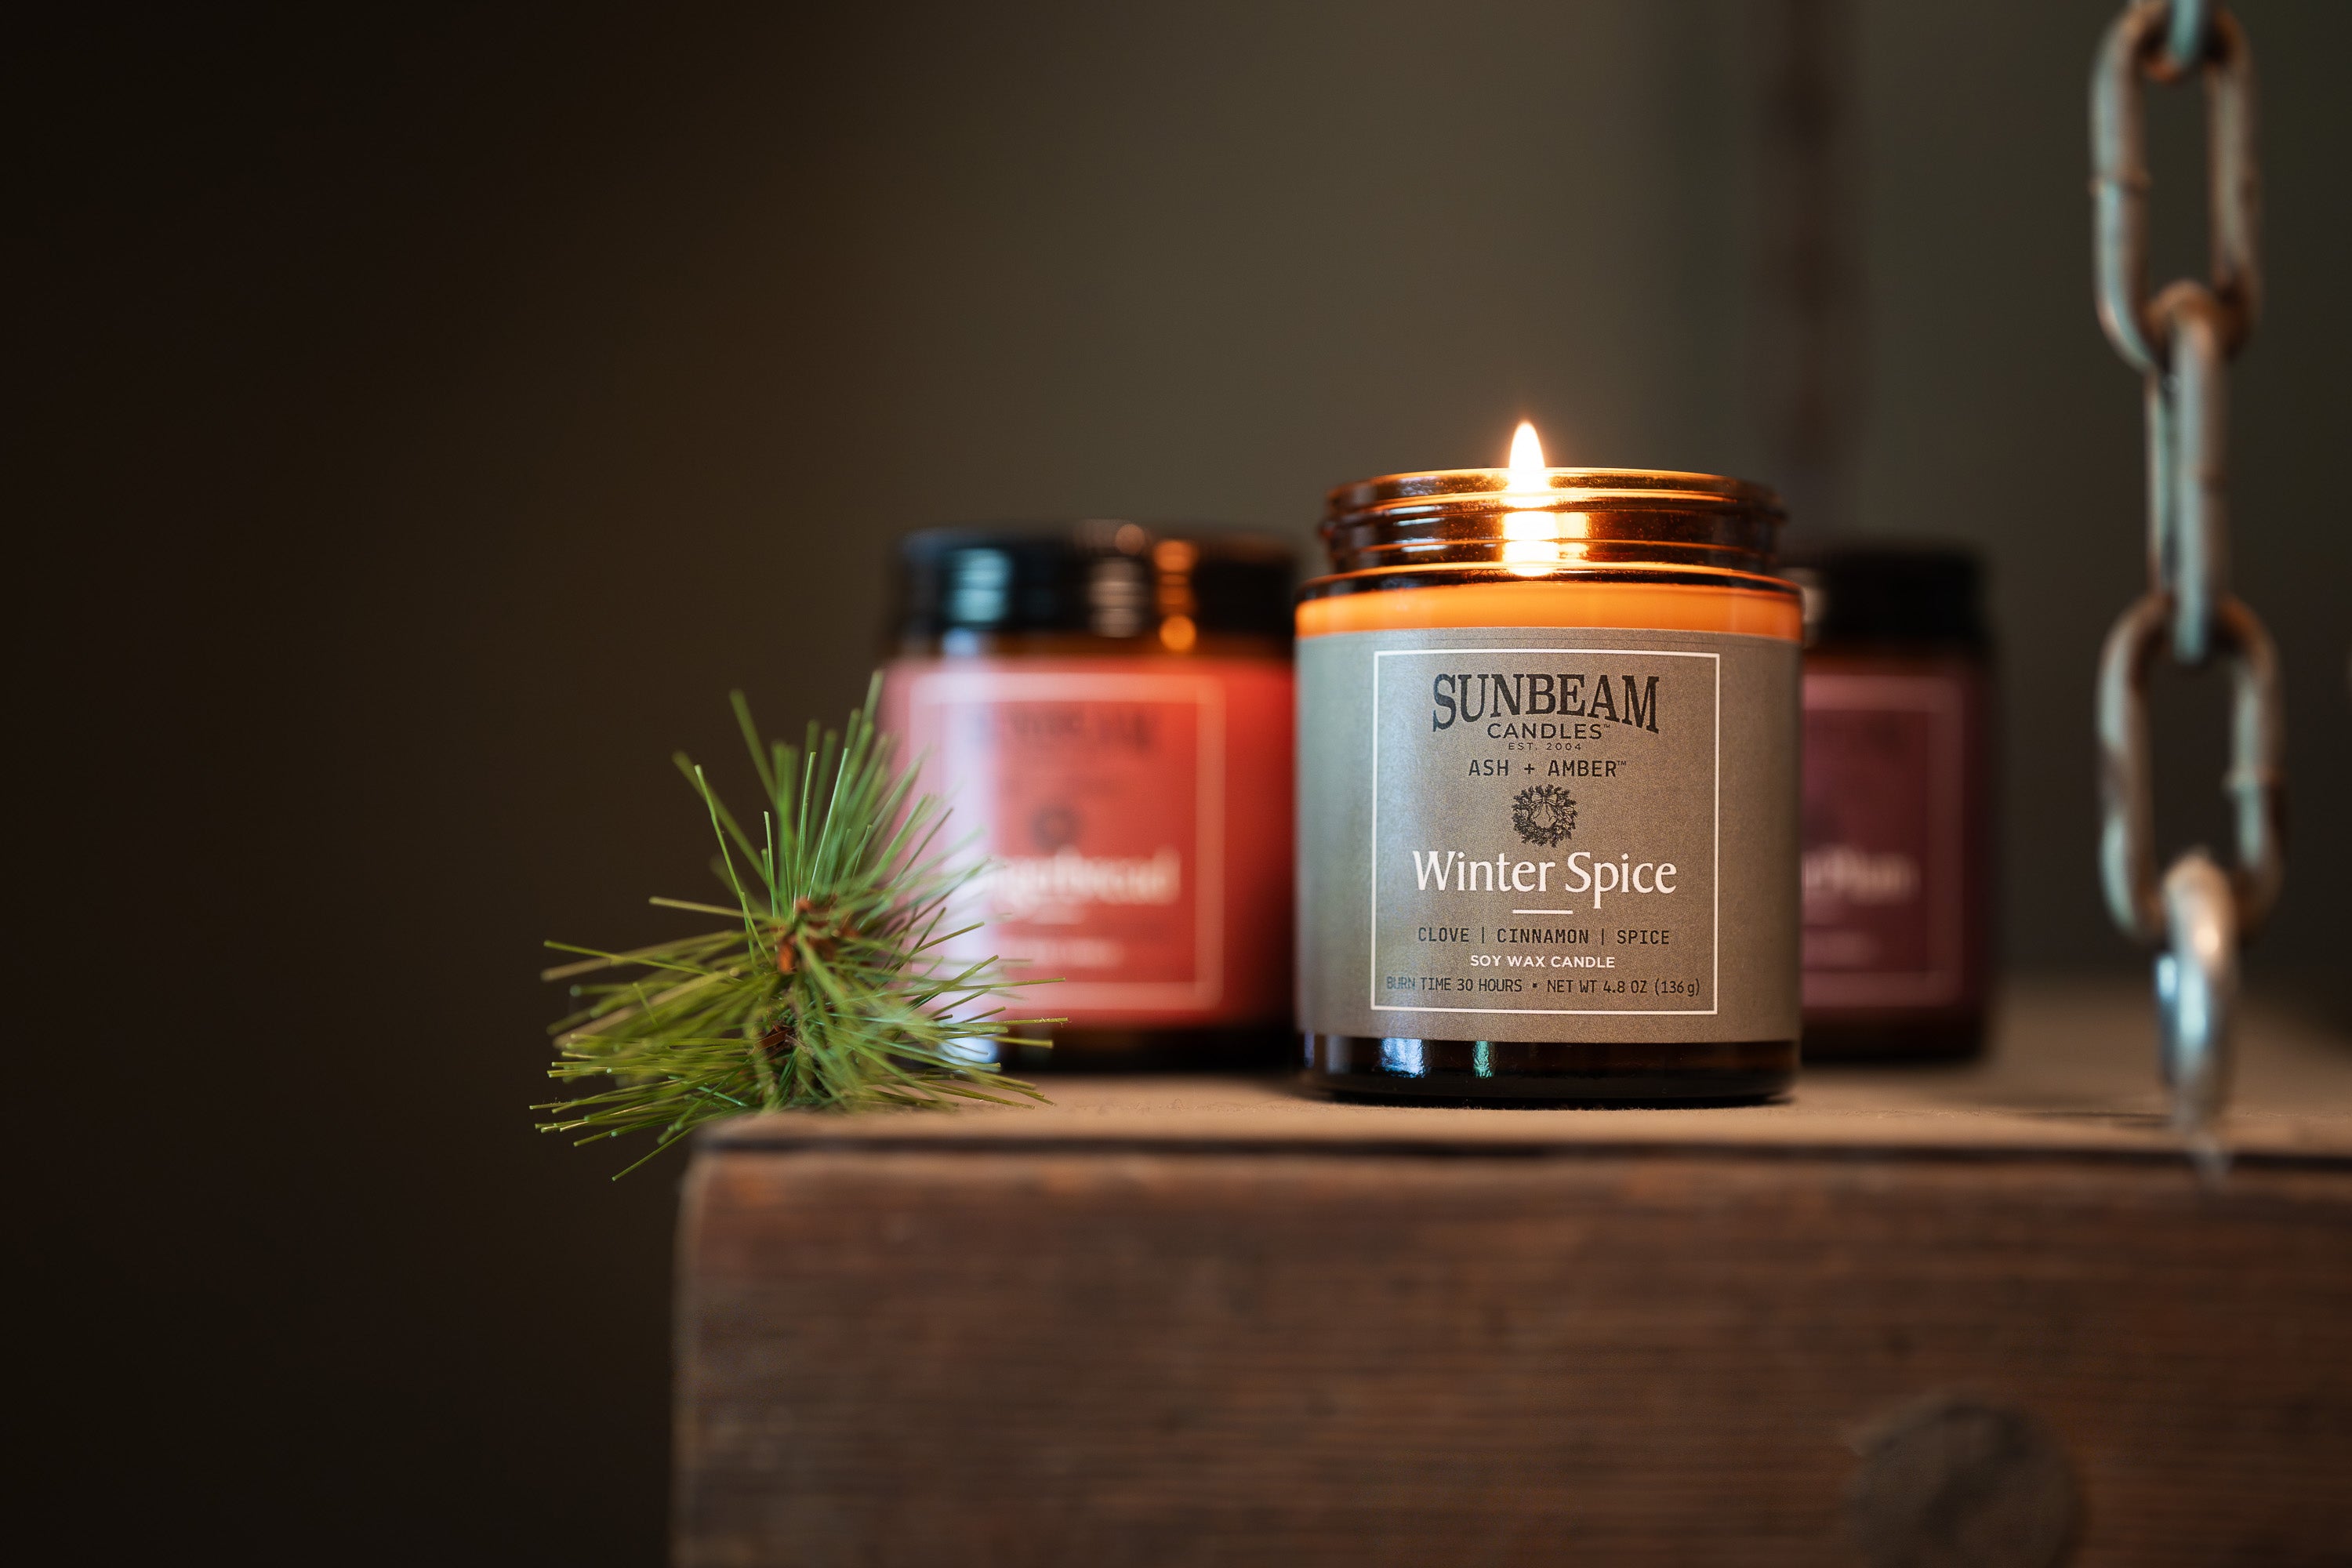
How to Avoid Candle Tunneling and Other Common Candle Burning Mistakes
Ever lit a beautiful candle only to watch it burn down the center like it’s digging its own grave? That’s candle tunneling—and it’s one of the most frustrating (and common) candle burning mistakes.
If you're someone who loves cozy vibes, relaxing scents, and getting your money’s worth from a candle, learning how to burn a candle properly is key. In this ultimate candle care guide, we’ll show you exactly how to avoid tunneling and fix other issues that might be ruining your candle experience.
What Is Candle Tunneling?
Understanding the Science Behind It
Candle tunneling is when the wax melts in a narrow tunnel down the center, instead of evenly across the surface. This leaves a thick ring of unused wax around the jar and drastically reduces burn time. If you've wondered, "why do candles tunnel?", this is your answer: improper first burns, short burn times, or a wick that’s too small.
How Tunneling Affects Candle Longevity and Performance
Not only does tunneling waste wax, but it also shortens your candle's lifespan. Eventually, the flame can't breathe, the wick gets buried, and the scent throw becomes weak. Understanding how to avoid candle tunneling is essential for anyone serious about getting the most out of their candles.
The First Burn Is Everything
The Memory Ring Concept
Here’s a secret pros know: wax has a "memory." The first burn sets a “memory ring” that determines how the candle will melt for the rest of its life. So, if you cut it short, you’ll likely cause tunneling.
How Long Should the First Burn Last?
This is the golden rule of candle maintenance: burn your candle for 1 hour per inch of diameter on the first go. So if your candle is 3 inches wide, burn it for at least 3 hours. This helps the wax pool reach the edges, preventing that dreaded tunnel.
How to Fix Candle Tunneling
Already made the mistake? Don’t worry—here’s how to fix candle tunneling and save your wax.
The Foil Wrap Method
Wondering how to fix a tunneled candle with foil? Wrap the top of the jar in foil, leaving a hole for the flame. Let it burn for a few hours. The trapped heat will help melt the surrounding wax and even out the surface.
Use a Hair Dryer or Heat Gun
Another trick? Use a hair dryer or heat gun on low to gently melt the top layer of wax. Smooth it out and allow it to harden flat. This method works well when paired with a proper burn afterward.
Dig Out the Wax (Last Resort)
If the wick is drowning, gently scoop out some wax around it so the flame can breathe again. Just make sure you trim the wick to 1/4 inch before relighting.

How to Prevent Candle Tunneling From the Start
Use High-Quality Candles with the Right Wick
Not all candles are created equal. Low-quality candles often have the wrong wick size for the vessel, which causes uneven burning. Always choose brands known for quality candle wick engineering.
Trim Your Wick Every Time
Before lighting, trim your candle wick to 1/4 inch. This ensures a cleaner, more even burn, minimizes smoke, and helps create a full melt pool.
Avoid Drafty Areas
Burning candles near open windows, fans, or air vents causes the flame to lean and melt unevenly. For the best results, place your candle in a draft-free spot.
Other Common Candle Burning Mistakes (and How to Avoid Them)
1. Not Trimming the Wick
Long wicks cause mushrooming, black soot, and uneven flames. Keep a wick trimmer handy and snip before every burn.
2. Burning for Too Long
Letting a candle burn for over 4 hours can overheat the jar and increase the risk of cracking or fire. Follow the recommended candle burn time on the label.
3. Not Burning Long Enough
Short burns = tunneling. Always allow a full wax pool to form—this is one of the best candle care tips to prevent wasted wax.
4. Blowing Candles Out
Blowing can splatter wax and create smoke. Use a snuffer or the lid to extinguish the flame gently and cleanly.
5. Burning Multiple Candles Too Close
Candles need space to breathe! Placing them too close together can affect the burn pattern due to competing heat sources.
Why Candle Wick Size Matters
Cotton vs. Wooden Wicks
Wooden wicks offer a crackling ambiance and slow burn but require more care. Cotton wicks are more common and beginner-friendly. Choosing the right wick ensures even wax melting.
Signs of a Wrong Wick Size
If the wax doesn’t melt to the edges or the flame flickers constantly, your wick may be too small or too large.

Candle Jar Size and Shape Considerations
Bigger Isn’t Always Better
Large candles may look luxurious, but they take longer to burn properly and are more prone to tunneling if neglected.
Wick Must Match Jar Diameter
Proper wick-to-jar ratio is essential. A narrow wick in a wide jar = poor wax melt pool and faster tunneling.
How to Reduce Candle Soot and Smoke
Why Is My Candle Producing Black Smoke?
Excess soot usually comes from long or mushroomed wicks. Poor wax quality or drafts also play a role.
Tips to Reduce Smoke and Soot
- Trim the wick
- Avoid drafts
- Burn for recommended time
- Choose soy or beeswax candles for a cleaner burn
Proper Candle Storage Tips
Keep Away from Sunlight
Direct light can discolor wax and degrade fragrance over time.
Store in a Cool, Dry Place
Heat and humidity can affect the integrity of your candle, especially natural ones.
Always Replace the Lid
It keeps dust out and preserves the scent. A lid is part of your candle care routine!
Understanding Candle Labels and Burn Instructions
Safety Symbols to Look For
Most candles include icons that indicate safe burn time, wick trimming guidelines, and fire hazard warnings. Don’t ignore them!
Follow Manufacturer’s Instructions
Each candle is different. Check for recommended burn duration and safety notes.
When to Stop Burning a Candle
Don’t Burn the Last Inch of Wax
Stop burning when there’s about 1/2 inch of wax left. Burning too low risks cracking the jar or even starting a fire.
Re-use or Recycle the Jar
Instead of risking damage, clean out the remaining wax and give the container a new life.
Repurposing Candle Jars
How to Clean Leftover Wax
Freeze the jar to shrink the wax, then pop it out with a spoon. You can also use warm water and dish soap.
Creative Ways to Reuse Candle Jars
- Plant pots
- Pen holders
- Makeup organizers
- Bathroom storage
Candle-Burning Best Practices: A Quick Ritual
Create a Relaxing Vibe Safely
Burn candles in calm, safe areas. Make it a moment of peace, not just decoration.
Practice Smart Candle Habits
- Trim the wick
- Let a full melt pool form
- Keep away from kids and pets
- Never leave burning candles unattended
Conclusion
Burning candles is a simple joy—but it comes with a few tricks. By avoiding tunneling, trimming your wick, and practicing proper candle burning techniques, you’ll extend the life of your candles, boost scent throw, and avoid mess or safety hazards.
In short: treat your candles well, and they'll treat you even better. Happy burning! 🕯️
FAQs
1. Why does my candle tunnel even when I burn it long enough?
You might not be burning it long enough for the size. Also, drafts and improper wick sizes could be at play.
2. Can I fix tunneling after several burns?
Yes! Use the foil method or gently melt the wax top with a hair dryer and give it one long, proper burn.
3. How do I know if a candle wick is too small?
If your wax pool doesn’t reach the edges after a few hours, your wick might be too narrow for the jar.
4. Are wooden wicks better than cotton ones?
Wooden wicks offer ambiance and a clean burn but require more maintenance. Cotton is easier for everyday use.
5. How long should I wait between candle burns?
Let the wax harden completely before relighting—usually a few hours—to maintain an even burn.

%20candle%20burning%20mistakes....)
Leave a comment
This site is protected by hCaptcha and the hCaptcha Privacy Policy and Terms of Service apply.